Seaming garter stitch

Seaming garter stitch is relatively easy. (Easy is defined by “I know how to do it.”) It is the odd seams that can be a challenge, for example horizontal to vertical seams or garter to stockinette stitch.

Smiles and Frowns

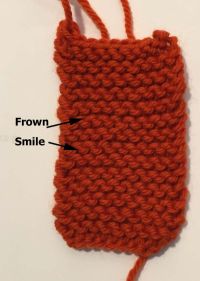
Smiles and Frowns Garter stitch anatomy is similar to reverse stockinette stitch. The top half of the stitch is often called a “frown” and the lower half, a “smile.”


Seaming Horizontal Garter Stitch to Vertical Garter Stitch—Method 1

This method leaves a decorative edge. It is a nice design element when completing Elizabeth Zimmermann’s Surprise Jacket.

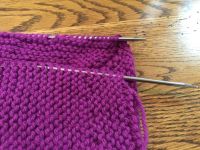
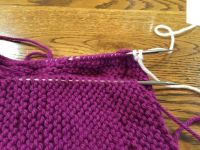
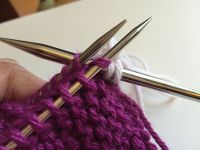
Garter Stitch 1 Garter Stitch 2 Garter Stitch 3 Garter Stitch 4
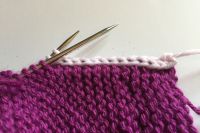
Step 1: Pick up the stitches on both sides of the seam. Use needles several sizes smaller than the size with which you knitted the piece.

The stitches on the back needle are not mounted corretly. In Step 3, you will notice that the stitch on the back needle is still knitted in the right leg of the stitch.
Step 2: Cast on 2 stitches on the back needle. If using the same color, you can begin with the tail. Step 3: With the same size needle used to knit the fabric, *k1, sl 1 purlwise, k2 tog—1 st from the front needle and 1 st from the back needle. Pass the slipped st over the 2 sts just knitted together. Repeat from * to end of seam. Here Step 3 has been completed several times. There is a nice ridge that is the same on the front and back.

Seaming Horizontal Garter Stitch to Vertical Garter Stitch—Method 2

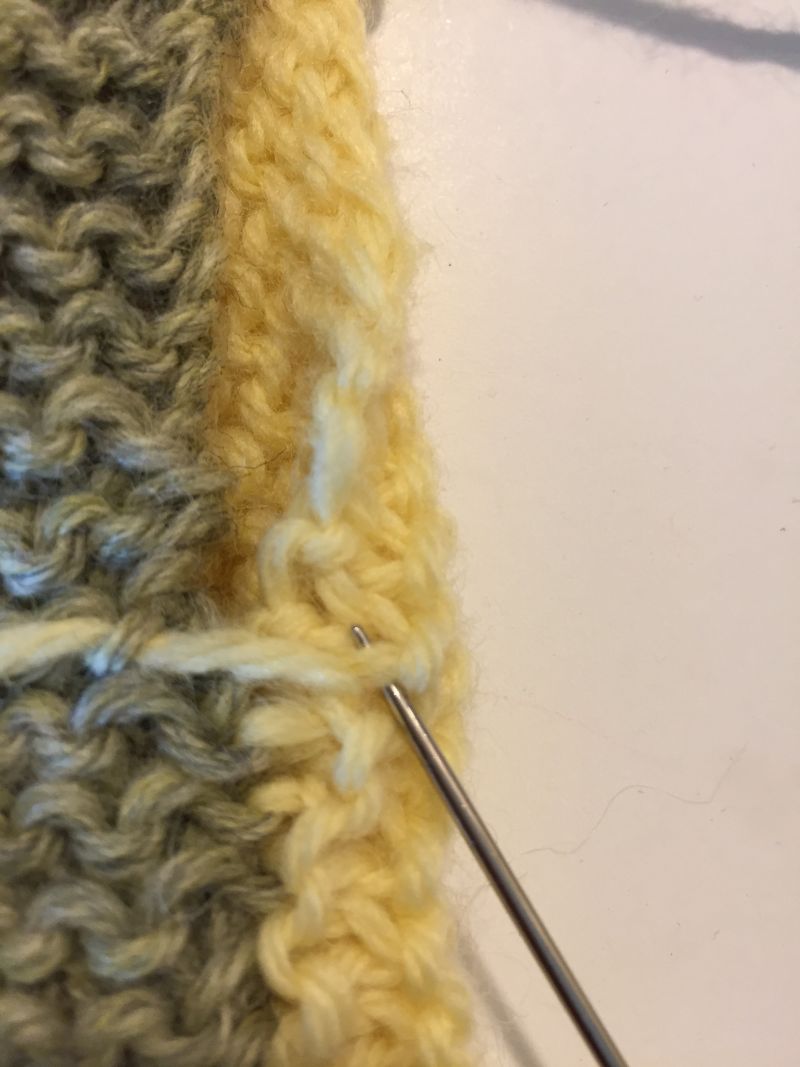
This method uses the frown (or smile) on the horizontal piece and the “Vs” below the bump on the vertical piece. Repeat Steps 1 and 2 until completed. Go

Garter Stitch 1 Garter Stitch 2 Garter Stitch 3 Garter Stitch 4 Garter Stitch 5
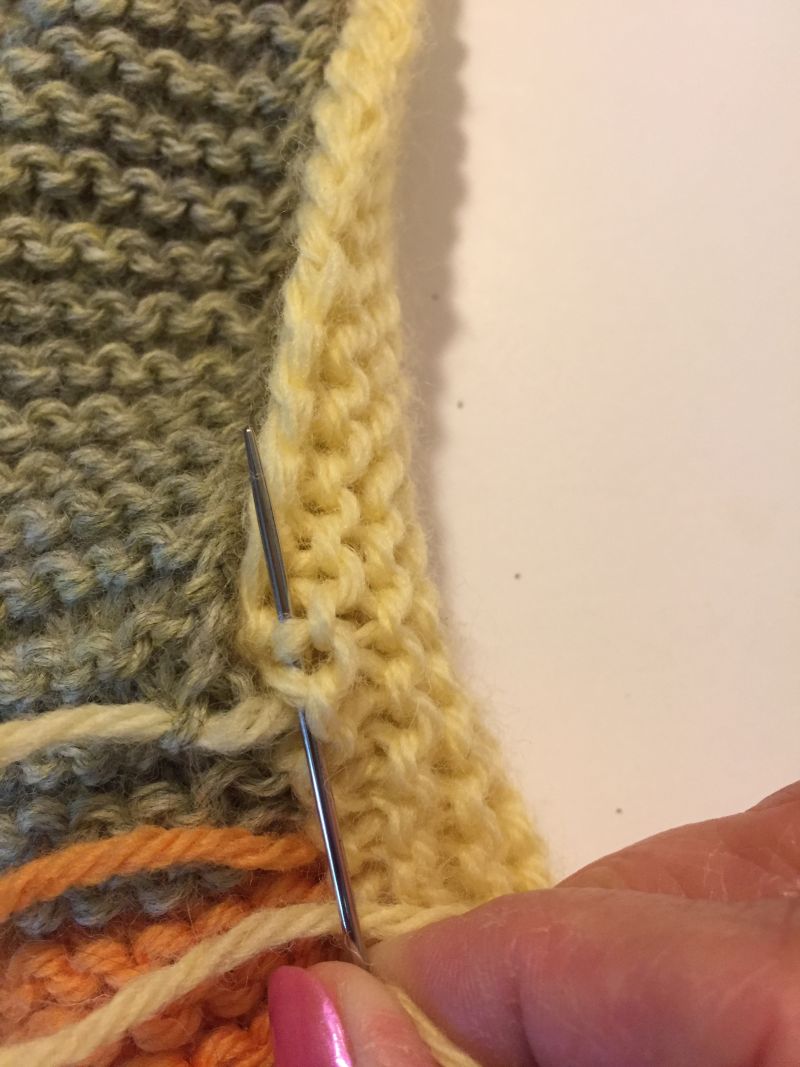
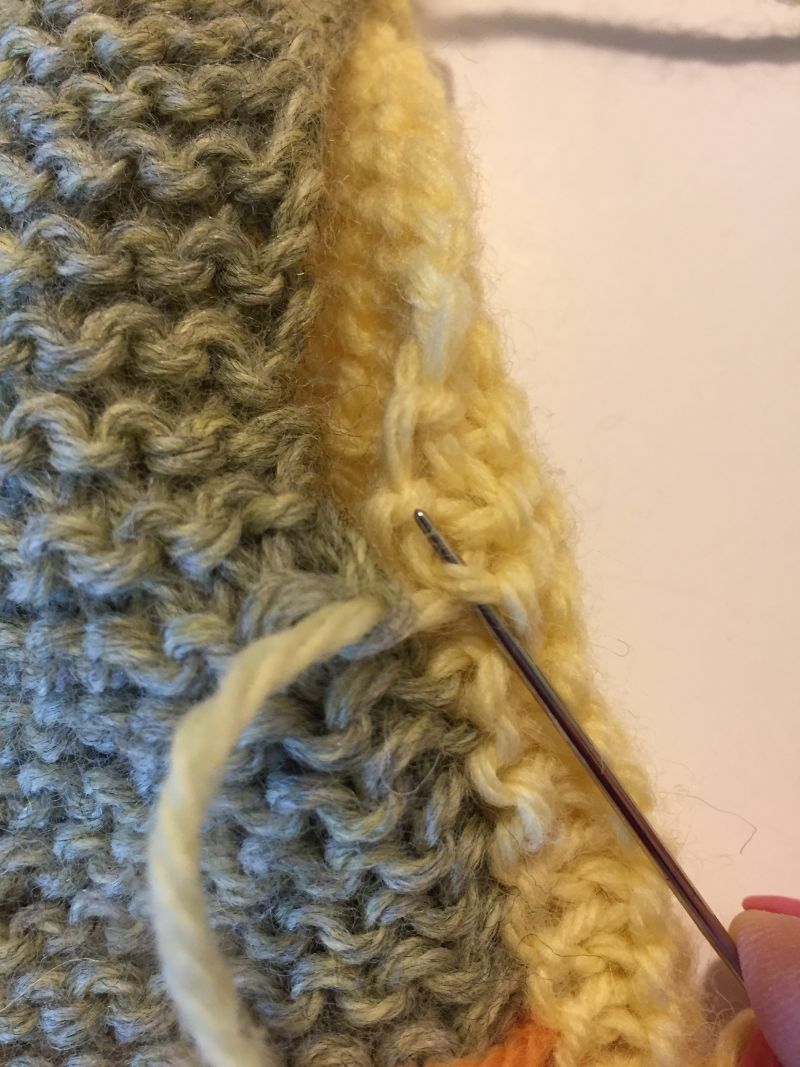
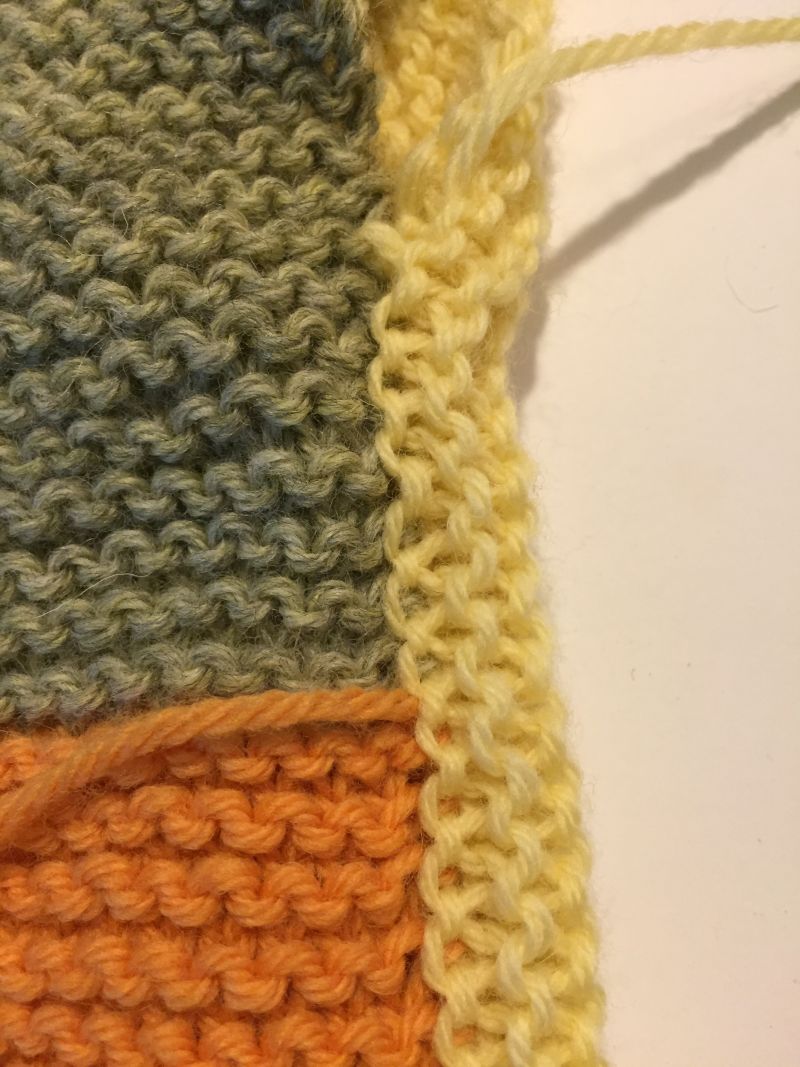
Step 1: Insert needle through the frown. (You can use the smile, just be consistent.) Pull the yarn through. Step 2: On the vertical side, insert the needle through the “V” below the bump. Pull the yarn through. If you have too many stitches on the vertical piece, pick up the right leg “V” and then the frown on the horizonal piece. Now pick up the left leg “V” and then the frown on the horizonal piece. Continue repeating Steps 1 and 2 until you need to “decrease” on the horizontal piece. The finished seam

Seaming Garter Stitch to Stockinette Stitch

Thank you to Kizzie for asking me to help her with this.

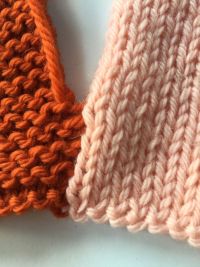
Garter Stitch to Stockinette Stitch 1
 
Garter Stitch to Stockinette Stitch 2
 
Garter Stitch to Stockinette Stitch 3
Garter Stitch to Stockinette Stitch 4
Garter Stitch to Stockinette Stitch 5

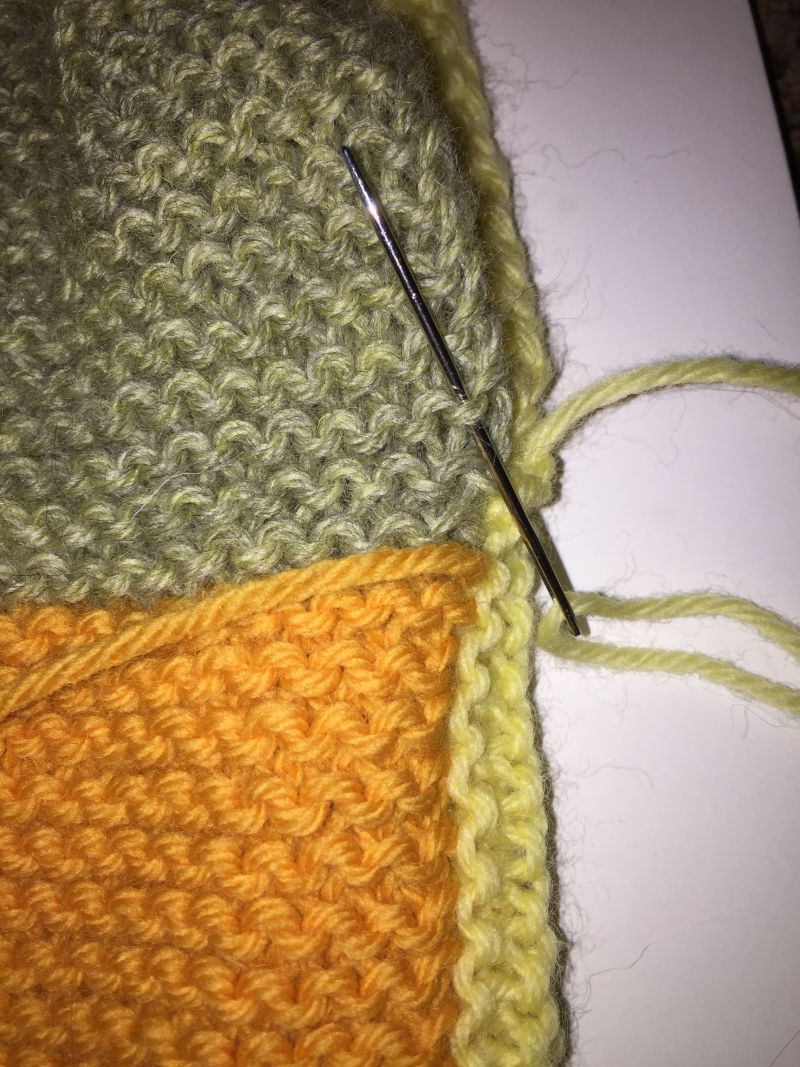
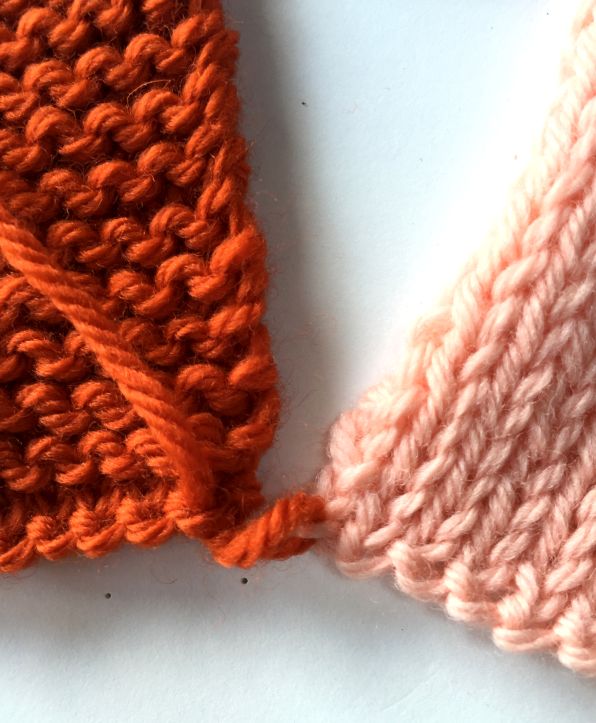
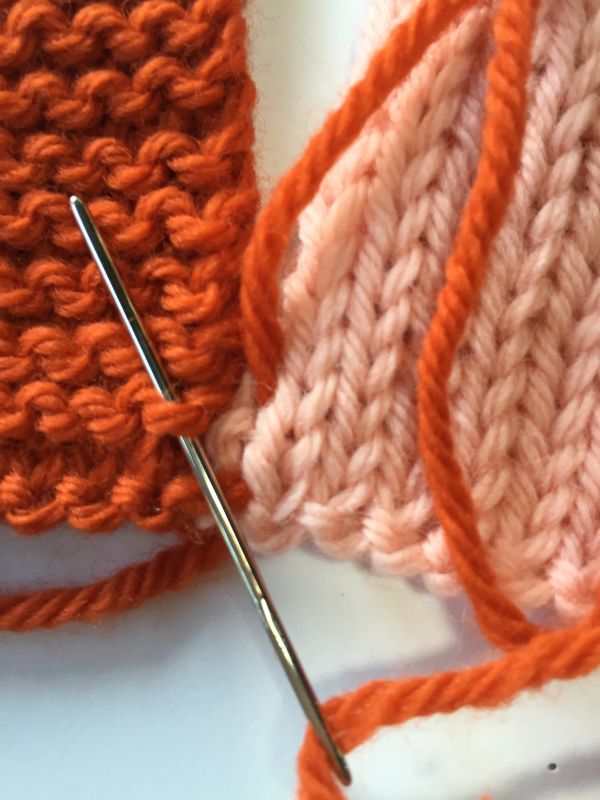
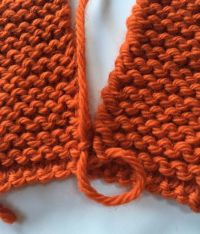
Step 1: Begin your seams with a figure 8. If using the tail, insert the needle in the lowest corner stitch of the opposite piece from back to front. Then insert the needle in the lowest corner stitch of the piece with the tail. It looks like a figure 8. Pull up snugly and you are ready to begin.


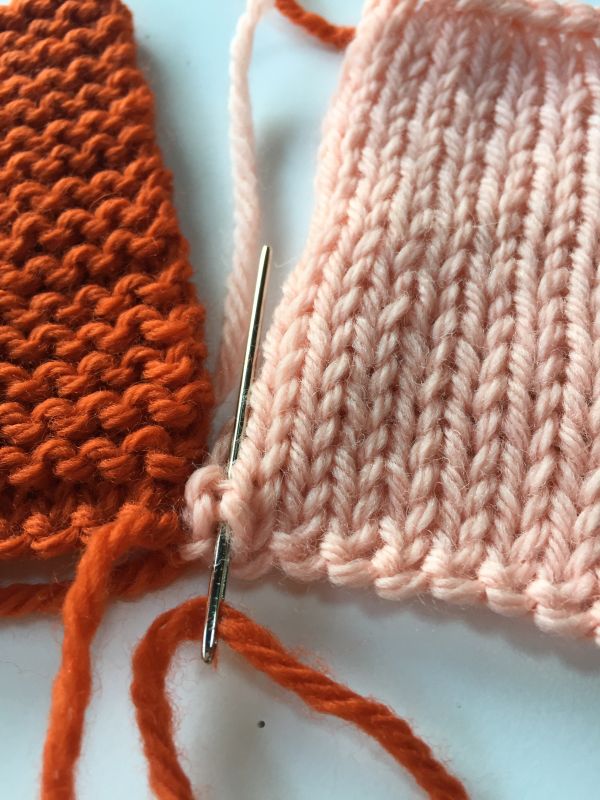
Step 2: Insert the needle down under the bar between the first two V’s and up two bars.


Step 3: On the garter st side, go under the first smile. (You can use the frown but be sure to be consistent: smile or frown, do not mix.)

Step 4: Continue in this manner. Keep the smile lined up with the V-bar. You will need to go down and under 1 bar at times, 2 bars at other.

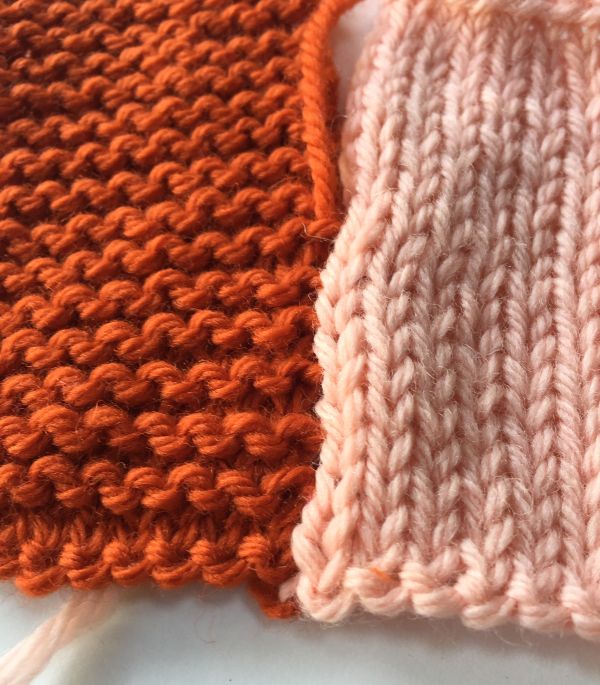
Partially completed: After every few stitchs, gently pull up the yarn to create an invisible seam.


            added May 19, 2017


Seaming Garter Stitch to Garter Stitch
You should have the same number of rows on each piece.


Garter to Garter 1
 
Garter to Garter 2
 
Garter to Garter 3
 
Garter to Garter 4

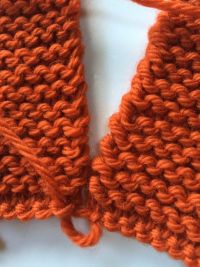
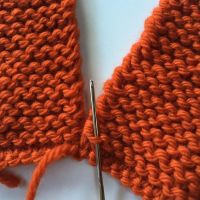
Step 1: Begin with a figure 8 (see Step 1 above).


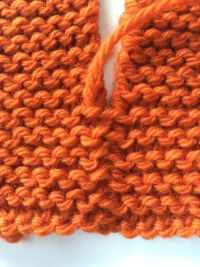
Step 2: Go under the smile on the right-hand piece and pull the yarn up loosely.


Step 3: Go under the frown on the left-hand piece.


Step 4: Repeat steps 2 and 3, pulling the yarn snug every few stitches. It does not matter which side the frown or smile is on. Just be consistent.